
Audi owners know the drill. You back into a spot, the parking assist chimes its usual melody, and then — silence. Or worse, a continuous tone that tells you something’s wrong. The parking sensor system, one of the most used convenience features on modern Audis, fails without warning. And the dealer quote? Often north of $400 with parts and labor.
Here’s the reality: a parking sensor replacement on most Audi models is a 30-minute job for a competent DIYer or independent shop. The parts cost a fraction of the dealer price, and the process is far simpler than most owners expect. Let’s walk through the replacement procedure, the tools you’ll need, and the mistakes that turn a simple job into a bumper-off nightmare.
Diagnosing the Fault Before You Touch a Wrench
Before ordering anything, confirm the sensor is actually dead. Audis typically fail one sensor at a time, and the system will alert you with a specific tone pattern or a graphic on the MMI screen showing which sensor is offline.
A quick diagnostic check: turn on the ignition, put the car in reverse, and place your ear near each sensor. A functioning sensor emits a faint clicking sound. No click, no function. If you want to be thorough, a multimeter can verify the sensor is receiving power and ground — but for most owners, the audible test is sufficient.
If multiple sensors fail simultaneously, suspect a wiring harness issue or a faulty control module rather than individual sensor failures. That’s a different repair entirely.
Tools and Parts: What You Actually Need
For this job, the parts list is short and the tool list is shorter.
Tools required:
- Trim removal tool or flathead screwdriver (wrapped in tape to avoid paint damage)
- Torx T20 or T25 driver (depending on the model year)
- 8mm socket or nut driver
- Optional: heat gun or hair dryer for stubborn adhesive
Parts:
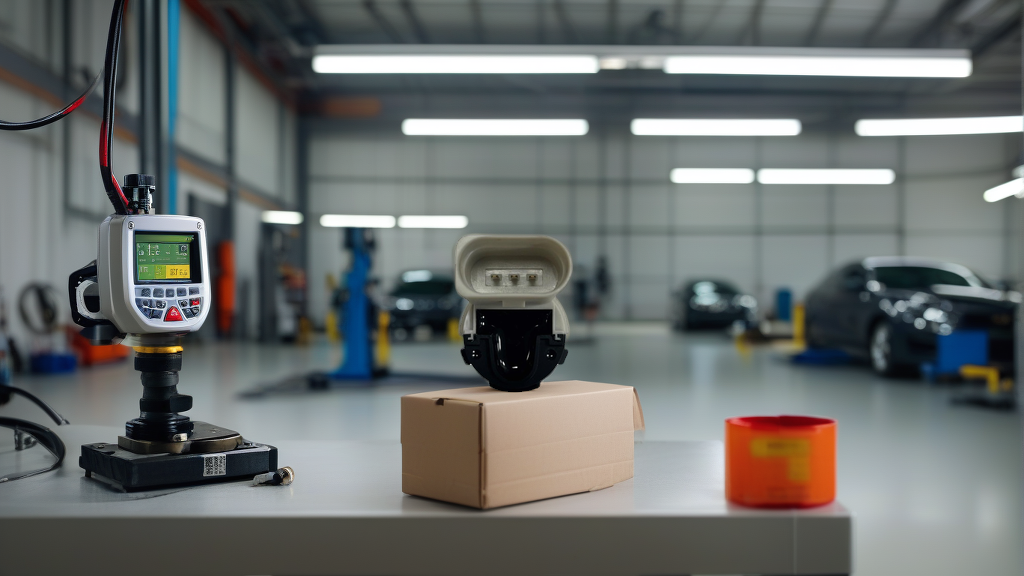
- Replacement parking sensor — for this application, the OSRAM OS-PASA002 is a direct match for the Audi OE part numbers 7H0919275B and 4B0919275G
- Plastic trim clips (buy a few extras; they’re cheap and you will break at least one)
Step-by-Step Replacement Procedure
Step 1: Access the Bumper Interior
You don’t need to remove the entire bumper for most Audi models. On the rear bumper, remove the wheel well liner on the side closest to the faulty sensor. This typically involves removing 3-4 Torx screws and pulling the liner back. For front sensors, the procedure is similar but you may need to access from under the car.
Step 2: Locate and Disconnect the Sensor Harness
The sensor connects to the wiring harness with a small locking connector. Press the release tab and pull straight back. Don’t yank sideways — the connector pins are fragile and a bent pin turns a 30-minute job into a wiring repair.
Step 3: Release the Sensor from the Bumper
Here’s where patience matters. Audi sensors are held in by a metal retaining clip. Compress the clip with a flathead screwdriver and push the sensor outward from behind the bumper. On some models, the sensor is friction-fit with a rubber grommet. For those, press firmly from the back while pulling from the front.
Step 4: Install the New Sensor
Push the OS-PASA002 into the bumper opening. You’ll feel it seat with a positive click as the retaining clip engages. Reconnect the harness connector until you hear it lock.
Step 5: Test Before Reassembling
Before you put the wheel well liner back, reconnect power and test the system. Put the car in reverse and listen for the click. Then, with the engine running, place your hand near the sensor (without touching) — if the system chimes and the MMI display shows the sensor active, you’re good.
Step 6: Reassemble and Torque
Reinstall the wheel well liner. Torque the Torx screws to 2.5 Nm (22 in-lbs). That’s it — no special torque specs for the sensor itself, which is one of the few forgiving aspects of this job.
Common Mistakes to Avoid
– Paint matching errors: If you’re using a pre-painted sensor, verify the paint code before ordering. Audi has used over a dozen shades of silver, black, and white across model years. A mismatched sensor is obvious and impossible to hide.
– Forgetting the foam backing: Some Audi sensors have a foam acoustic pad behind them. If you remove the old sensor and the foam is still in the bumper, transfer it to the new sensor. Skipping this causes false readings.
– Breaking the retaining clip: The plastic clips are brittle after years of heat cycling. Buy spares before you start, not after.
– Incorrect sensor orientation: The sensor has a small flat edge that must face downward. Installing it upside down changes the detection angle and causes intermittent failures.
Why the OS-PASA002 Makes Sense
The OSRAM OS-PASA002 is a direct OE replacement that matches the original equipment specifications for multiple Audi applications. It carries the same connector design, same mounting geometry, and same detection range — which matters more than most owners realize.
Generic sensors often use a different detection cone angle. That means they may not detect obstacles until you’re inches away, or worse, they trigger false alarms when you’re nowhere near an obstacle. The OS-PASA002 avoids this by matching the original beam pattern.
At roughly a quarter of the dealer parts price, it makes financial sense for both DIY owners and independent shops. For shops, stocking this sensor means you can offer same-day parking sensor repairs without waiting on dealer parts delivery.
The Bottom Line
Parking sensor replacement on an Audi is a straightforward mechanical job that requires no special tools and no technical degree. The risk isn’t in the physical installation — it’s in buying the wrong part or rushing the wiring connection. Take your time, test before reassembly, and use a known-good replacement part.
For most owners, the total investment is under $60 and about an hour of your Saturday. That beats a dealer appointment, a loaner car, and a four-figure invoice. And when the job is done, your Audi’s parking assist will be back to its quiet, reliable clicking — the sound of a system working exactly as designed.

Recommended Part: OS-PASA002 – OE-grade replacement, in stock now.