
The phone rings at 4:45 PM on a Friday. Customer on the line has a 2015 Lexus RX350. The engine light is flashing, and the car is shaking like a washing machine mid-spin. Classic symptoms, right? They think it’s the end of the world. You think it’s Tuesday.
A quick scan with a capable bidirectional tool shows two misfire counts on cylinder 3 and a pending code for the catalytic converter. The converter code is the tell. A lean misfire is dumping raw fuel into the exhaust. If left alone, that P0430 is going to turn into a $1,200 converter replacement bill real quick. The customer doesn’t need a new car. They need a coil.
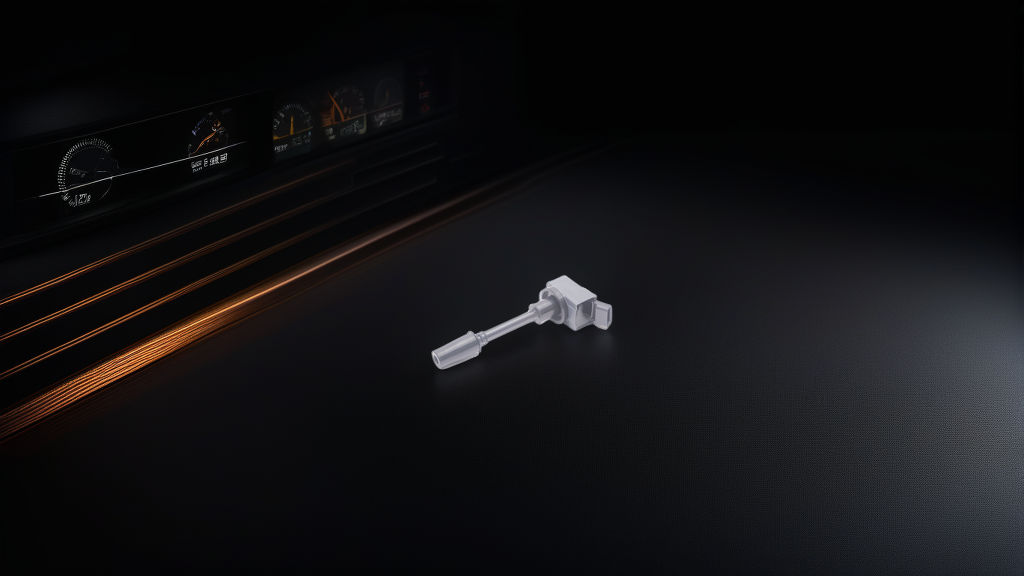
That’s where the OSRAM OS1003 comes into play. It’s a direct OE replacement for the infamous Lexus/Toyota coil, and swapping it out is a straightforward job—provided you respect the torque specs and don’t let dirt get anywhere near the spark plug well.
The Real Deal on the OS1003
Before you start wrenching, let’s clear the air about what you’re installing. The OEM part number 9091902269 is a known failure point on high-mileage Lexus and Toyota 2GR-FE V6s. The factory coils usually last 80,000 to 100,000 miles, but heat and vibration eventually crack the epoxy housing or cause the internal transistor to fail intermittently.
The OSRAM unit we stock (SKU: OS1003) is a drop-in replacement. It comes packed with the same connector orientation and a sealed internal housing. We’ve sold plenty of these to fleets, and the feedback is consistent: zero install issues and no “oops, this pigtail is wrong” headaches. It’s a clean swap.
The Replacement: Tools You Actually Need
You don’t need a diagnostic doctorate to swap this out. For most 2GR-FE applications (RX350, ES350, Sienna, Highlander), the intake manifold stays mounted. You are working on top of the valve cover.
Required Tools:
- 10mm socket (for the coil hold-down bolt)
- 5/8″ or 16mm spark plug socket
- 6-inch extension
- Torque wrench (inch-pounds for best accuracy)
- Dielectric grease (optional but smart)
- Compressed air or a can of brake cleaner
Step-by-Step:
- Disconnect the battery. Let the ECU sit for ten minutes. This resets the fuel trims and ensures a clean start when you’re done.
- Remove the engine cover. It’s usually held on by three grommets. Pull straight up.
- Disconnect the electrical connector. Press the tab down and rock the connector back and forth. Do not pull the wires.
- Remove the 10mm hold-down bolt. Set it aside. Keep it off the engine; you don’t want to drop it into the plug hole.
- Pull the coil straight out. If it resists, twist it gently with your hand. If the rubber boot tears off, use a pair of needle-nose pliers to pull the boot out before going further.
- Clean the area around the spark plug well. Blow compressed air into the hole before you remove the old plug. Otherwise, you are going to drop sand and debris straight onto the piston top.
- Replace the spark plug. Thread it in by hand first. Never use an impact gun to install, and do not over-torque. Use 15 ft-lbs for the plug. The coil’s hold-down bolt torque is only 80 in-lbs (7 ft-lbs). Yes, that sounds low, but the coil sits on an isolation rubber mount. Overtightening it can crush the mount and cause a drone in the valve train.
- Install the new OS1003. Push it down firmly until the boot snaps over the plug’s ceramic tip. Make sure the connector “clicks” in.
Common Mistakes That Ruin The Repair
The biggest mistake DIYers make is skipping the coil bolt torque spec. That bolt isn’t a structural piece; it’s just holding the coil down. If you muscle it with a ratchet, you’ll crush the rubber boot and the coil will physically jump up and down while the engine runs, breaking the electrical connection under load.
Here’s another one: Forgetting the dielectric grease. On the 2GR-FE, moisture in the coil boot is the #1 killer of new coils. If you discover oil in the spark plug tube, clean it thoroughly. If the valve cover gasket is leaking, replace that gasket before installing the new coil. Installing a $50 coil over a $20 leaking spark plug tube gasket is just poor math. You’ll be doing this job again in two weeks.
Also, do not “test” the coil on the bench with a spark plug lying loose. The coil needs a back-pressure ground. Laying the plug on the valve cover is fine for 2 seconds, but if you hold it in mid-air with a gap of 1/4 inch, you force the internal coil to output max voltage with no clean path, which can stress the internal insulation.
The Verdict: Does the OS1003 Perform?
We pulled a few units and threw them on a scope to measure burn time and dwell. The OSRAM coated wire and internal core deliver a burn time that is not identical to the OEM, but close enough to be negligible. The critical thing is that it doesn’t fake the firing voltage. In a direct comparison, the OS1003 didn’t show the high-frequency oscillation or early misfire that often shows up on cheaper aftermarket “white box” coils.
Should you replace all six at once? If you have a 2010-2015 Lexus with over 80,000 miles and you’re swapping one coil, it’s financially smart to swap the spark plugs on the same bank. That saves you a second teardown later. As for the coils, replace the rest as they fail—just keep one spare in the trunk.
For a shop, the profit margin on this part is solid, and the customer will leave happy because the flashing CEL is gone. For a DIY owner, it’s the difference between driving with the “Check Engine” light on versus having a smooth idle.
We keep the OS1003 OSRAM Ignition Coil in stock for a reason: it’s the most reliable aftermarket fix for the 2GR-FE misfire. There’s no fluff, no unnecessary tech gimmicks—just a precise drop-in replacement that gets you back on the road without emptying your wallet.