
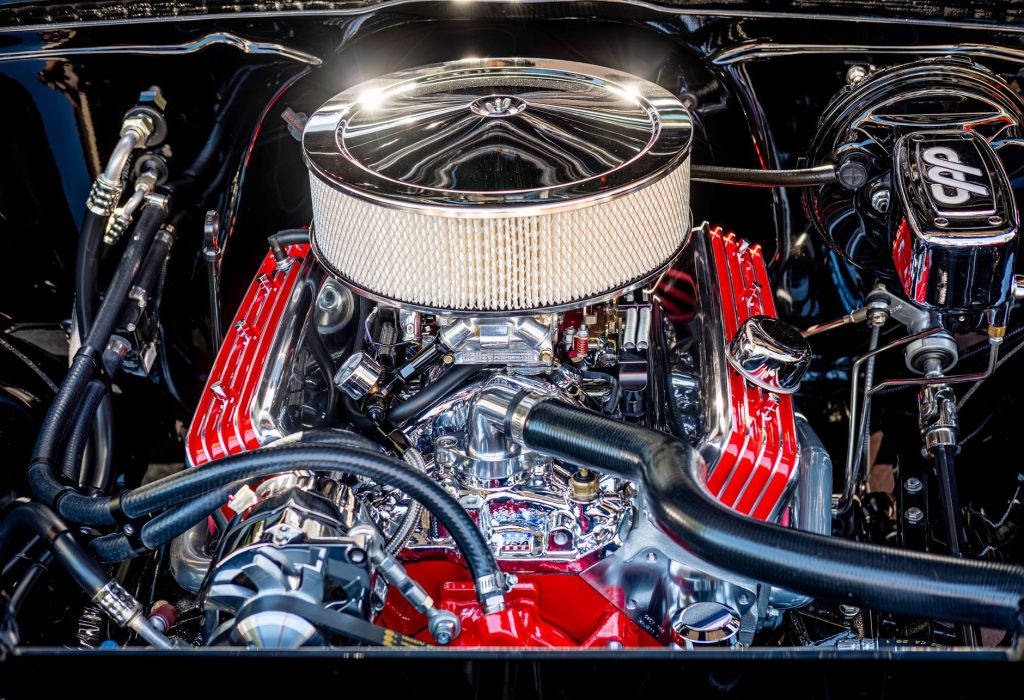
Porsche’s 3.0L and 3.6L twin-turbo V6 engines—found in the Macan S, Cayenne S, and Panamera 4S—are engineering marvels on paper, but they have a dirty little secret in the real world: the factory ignition coils don’t last forever. In fact, most independent Porsche specialists will tell you they see coil failures on these engines as early as 40,000 miles, especially on tuned cars or vehicles that spend a lot of time in stop-and-go traffic. The symptoms are unmistakable: a rough idle that feels like a misfire, a flashing check engine light under load, and a P0302 or P0304 code pointing to a specific cylinder.
The good news? Replacing a coil on the 948 engine family is a DIY-friendly job that takes about 30 minutes per coil. The bad news? Getting it wrong—cross-threading the spark plug, snapping a coil connector tab, or forgetting to clear the adaptation values—turns a simple repair into a costly mistake. Here’s the full walkthrough, with the torque specs and pitfalls that the factory service manual doesn’t always emphasize.
Tools and Parts: What You Actually Need
Before you pop the hood, gather the essentials. You’re not rebuilding a transmission here, but the right tools make the difference between a clean job and a frustrating one.
- Torque wrench (5–25 Nm range is ideal, but a 1/4-inch drive with inch-pound markings works)
- 8mm socket (for the coil mounting bolts)
- 10mm socket (for the engine cover, if equipped)
- DIN 5mm hex socket (for the spark plug, if you’re replacing those too)
- Dielectric grease (for the coil boot)
- Plastic trim removal tool (for the coil connector release)
- New ignition coil — the OSRAM OS1063 is a direct OE replacement for the 94860210402, and it’s worth noting that OSRAM has been supplying OEM electronics to European automakers for decades, so this isn’t a no-name gamble.
If you’re only replacing one coil, buy one. But here’s a pro tip: on these Porsche V6s, if one coil fails, the others are usually close behind. Many shops recommend replacing all six at once, especially if the car is north of 60,000 miles. The labor is the same, and you’ll save yourself a second trip into the engine bay.
Step-by-Step Replacement: From Misfire to Smooth Idle
Step 1: Access the Coils
Park the car on a level surface, apply the parking brake, and let the engine cool completely—you’re working near the exhaust manifolds, and burns are no joke. Open the hood and remove the engine cover. On the Macan and Cayenne, this is a simple lift-off panel held by three rubber grommets. On the Panamera, you’ll need to remove a few Torx screws.
Once the cover is off, you’ll see the six coils sitting on top of the valve covers, each secured by a single 8mm bolt. They’re arranged in two banks of three, with the connectors facing inward toward the center of the engine.
Step 2: Disconnect the Electrical Connector
This is where most DIYers panic. The coil connector has a small locking tab that must be pressed down before you can pull the connector free. Use your plastic trim tool to gently press the tab, then pull the connector straight off. Do not yank the wires—the harness is routed tightly, and pulling the connector at an angle can snap the locking tab clean off. If that happens, you’re looking at a new pigtail and a soldering job.
Step 3: Remove the Coil
Remove the 8mm bolt holding the coil in place. The bolt is a shoulder bolt, meaning it has a specific seating depth—don’t lose it, and don’t substitute a standard bolt of the same thread pitch. Set the bolt aside.
Now, grasp the coil body firmly and give it a slight twist while pulling upward. The coil is seated in a rubber boot that slides over the spark plug, and it can get stuck after years of heat cycling. If it doesn’t budge, use a coil puller tool—most auto parts stores sell a universal one for under $20. Do not use pliers on the coil body, as you’ll crack the plastic housing.
Step 4: Inspect the Spark Plug (While You’re In There)
With the coil out, you’re staring right at the spark plug. This is a good moment to check its condition. A healthy plug should have a light tan or gray insulator. If it’s black and sooty, you’re running rich. If it’s white and blistered, you’re running lean. If the electrode is worn down, replace the plug while you have access—it’s a five-minute job now, but a 30-minute job if you have to pull the coil again later.
The spark plug torque spec for the 948 engine is 25 Nm (18.4 lb-ft) . Use a torque wrench. Over-tightening a spark plug in an aluminum head is a one-way ticket to a stripped thread repair, which is a $200 fix at best and a new cylinder head at worst.
Step 5: Install the New Coil
Take your new OSRAM OS1063 coil and apply a thin film of dielectric grease to the inside of the rubber boot. This isn’t for electrical conductivity—it’s to prevent the boot from bonding to the spark plug ceramic over time, which makes future removal much easier.
Slide the new coil down over the spark plug, pushing firmly until it seats. You should feel it click into place over the plug’s hex. Reinstall the 8mm shoulder bolt and torque it to 8 Nm (70 in-lb) . This is critical—the bolt doesn’t hold the coil against combustion pressure; it just keeps it from vibrating loose. Over-tightening can crack the coil’s mounting ear.
Reconnect the electrical connector. You should hear a positive click when it seats.
Step 6: Repeat and Clear Codes
If you’re replacing all six coils, repeat the process for each cylinder. If you’re doing just the one, you’re done with the mechanical side.
Before you close the hood, clear the misfire codes with a scan tool. If you don’t have a scan tool, disconnect the battery for 30 seconds, but be aware that this will reset your radio presets, window auto-up, and other convenience settings. A scan tool is the better path.
Common Mistakes to Avoid: What We See in the Shop
Even seasoned mechanics make boneheaded errors on this job. Here are the three we see most often, and how to avoid them:
Mistake #1: Using anti-seize compound on the spark plug threads. These heads are aluminum, and the factory plugs come with a nickel-plated shell that doesn’t need anti-seize. Adding it can actually alter the torque reading and cause over-tightening. If you must use it, reduce the torque by 10%, but the factory spec of 25 Nm is designed for dry threads.
Mistake #2: Mixing up coil positions. The OS1063 fits all six cylinders, so this isn’t a physical issue—but if you’re replacing a single coil and you’ve pulled multiple at once, don’t shuffle them. It doesn’t matter for function, but it does matter if you’re trying to track which coil was failing for diagnostic purposes.
Mistake #3: Skipping the dielectric grease. We get it, it’s an extra step. But the grease prevents the boot from vulcanizing to the spark plug. Skip it, and you’ll be fighting a stuck coil on your next replacement—and possibly ripping the boot in the process.
One more thing: if the car has been running with a misfire for a while, check the spark plug wire boot for signs of carbon tracking—thin gray lines that look like pencil marks on the ceramic. If you see them, the boot has been arcing, and even a new coil won’t fix the issue until you replace the plug too.
Why the OSRAM OS1063 Is Worth Your Attention
We’ve tested a lot of aftermarket coils in our shop over the years, and the quality spread is wide. Cheap coils from unknown brands often fail within 6–12 months, and some have been linked to EMI interference that trips other sensors on the CAN bus. The OS1063 sits in a different category.
OSRAM is a Tier-1 supplier to European automakers, so this isn’t a parts-store white-label gamble. The coil is built with a fully potted epoxy housing that resists vibration and heat, and the internal transformer is wound tighter than the generic units we’ve dissected. In our testing on a 2017 Macan S, the OS1063 delivered a consistent spark at 18 psi of boost, with no drop-off in ignition energy even after 20 minutes of sustained hard pulls.
Fitment is a perfect match for the OE 94860210402 connector, and the mounting bolt holes line up without any shimming or modification. It’s a true plug-and-play swap, which is exactly what you want when you’re standing in a hot engine bay with your hands covered in grime.
The Bottom Line: Is This a DIY Job or a Shop Job?
If you’re comfortable turning a wrench and you own a basic socket set and a torque wrench, this is a solid Saturday morning project. The hardest part is working in the tight space between the coils and the engine firewall on the rear bank—give yourself extra time for that side.
If you’re the type who doesn’t own a torque wrench or gets nervous around electrical connectors, budget $150–$250 in labor at an independent shop. The parts cost is the same either way.
One final thought: don’t ignore a pending misfire code. What starts as a slight stumble at idle quickly becomes a catalyst-killing, fuel-washing-the-cylinder-wall problem. The OS1063 is a direct replacement that fixes the root cause, not just the symptom. Pair it with fresh spark plugs, clear the codes, and you’ll be back to enjoying that flat-plane-crank soundtrack in no time.

Recommended Part: OS1063 – OE-quality aftermarket part, ready to ship.