
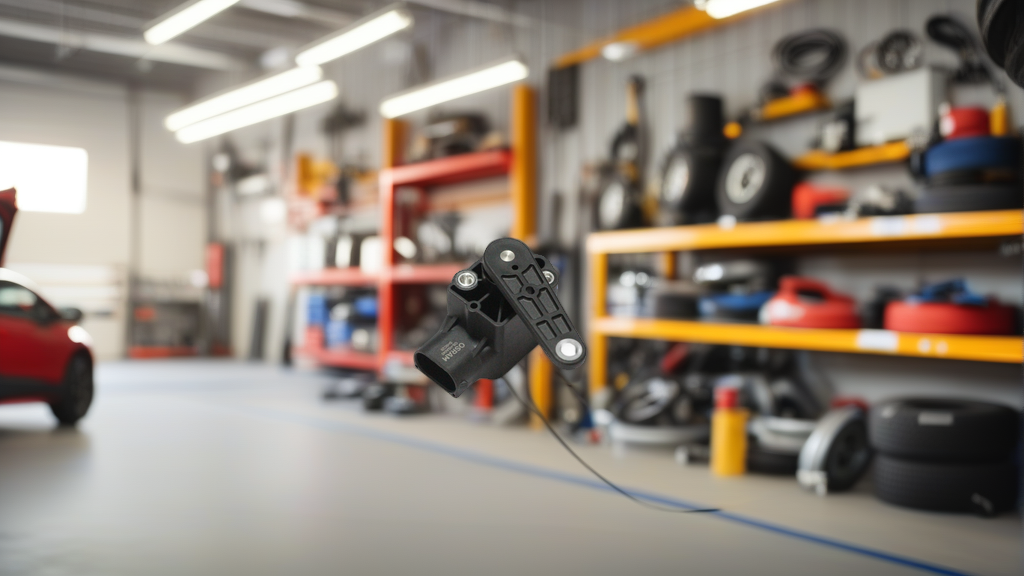
Audi’s air suspension systems are engineering marvels—until they aren’t. When the amber warning light pops up on the dash and the rear of an A6 or Allroad sags overnight, most technicians immediately suspect the air struts or the compressor. But seasoned European specialists know the dirty secret: the ride height sensor, that small plastic lever arm bolted to the control arm, fails just as often. And when it does, it throws the entire leveling system into chaos.
The aftermarket has responded in kind. The OSRAM OS-HSA040, a direct-fit replacement for the Audi OE part 4B0907503, has become a go-to for shops looking to cut diagnostic time and warranty comebacks. Here’s what you need to know about swapping it out correctly, the torque specs that matter, and the mistakes that turn a 20-minute job into a two-hour headache.
Why the Sensor Fails and What It Does
The ride height sensor isn’t a complex piece of hardware—it’s a rotary potentiometer that translates suspension travel into a voltage signal for the air suspension control module. The module uses that signal to adjust strut pressure and keep the chassis level. On Audi models from the late 1990s through the mid-2000s (C5 A6, Allroad, and even the D2 A8), these sensors sit exposed to road grime, salt, and water. The internal wiper tracks wear out, the plastic linkage cracks, or moisture corrodes the connector pins.
When the signal drops out or becomes erratic, the module defaults to a failsafe mode. You’ll see the suspension warning light, and the car will refuse to adjust ride height. In some cases, the rear end will sag completely. The compressor might even run continuously, trying to compensate for a signal it can’t trust—burning itself out in the process. That’s the cascade failure that turns a $60 sensor into a $900 compressor replacement.
The Replacement Process: Straightforward but Precise
This job is well within reach of a DIYer with basic tools, but it requires patience and a clean workspace. Here’s the step-by-step method that works on most C5-platform Audis.
Tools needed:
- 10mm socket and ratchet
- T30 Torx bit (for the sensor mounting screws)
- Flathead screwdriver (for connector release)
- Trim removal tool (optional, for the wheel well liner)
- Jack and jack stands (or a lift)
Step 1: Secure the vehicle and access the sensor.
The sensor is located on the upper control arm, near the wheel hub, on both the front and rear axles. You’ll need to remove the wheel and, on some models, partially pull back the plastic wheel well liner. Put the car on jack stands—do not rely on the suspension being at full height, as the sensor needs to be removed in a neutral position.
Step 2: Disconnect the electrical connector.
The connector is a two-pin design with a locking tab. Press the tab down and pull straight out. Don’t yank on the wiring harness—the pigtail is brittle after years of heat cycling. If the connector is corroded, spray it with electrical contact cleaner and let it dry before reconnecting.
Step 3: Remove the old sensor.
The sensor mounts with two T30 Torx screws. On some models, there’s also a small ball joint linkage connecting the sensor arm to the sway bar link. Pop that ball joint off carefully using a small pry bar or ball joint separator tool. Do not twist the sensor arm forcefully—you’ll damage the internal stops.
Step 4: Install the new sensor.
Before bolting it down, compare the new OS-HSA040 arm position to the old one. They should match exactly. If the arm is off by even a few degrees, the suspension will sit at the wrong height and throw a fault code. The sensor body has a locating tab that prevents incorrect installation, but the arm itself can be rotated. Align it visually, then bolt it down to 8 Nm (6 ft-lbs). Torque matters here—overtightening cracks the plastic housing.
Step 5: Reconnect and test.
Reconnect the linkage and the electrical connector. Start the car and let the compressor run. The suspension should cycle through its self-leveling routine. If the warning light stays on, you’ll need to clear the fault codes with a diagnostic tool (VCDS or a high-end scan tool) and recheck the live data from the sensor. It should read roughly 2.5 volts at normal ride height.
Pro Tip: Before condemning the sensor, check the linkage rod. A bent or seized ball joint will produce the same symptoms as a dead sensor. The OS-HSA040 includes a new linkage arm, but you should still inspect the mating components for wear.
Common Mistakes That Cost Shops Money
The most frequent error is skipping the calibration step. On some Audi models, the ride height sensor doesn’t self-calibrate—it requires a basic setting adaptation through the diagnostic tool. If you forget this, the car will drive with the correct voltage but the wrong ride height, and the warning light will come back within a few miles.
Another issue: replacing the sensor while the suspension is fully extended or fully compressed. The sensor’s internal stop can be damaged if the arm is forced past its travel limit during installation. Always work with the suspension at normal ride height, and use a floor jack to support the control arm if needed.
Finally, don’t assume the sensor is the only culprit. Check the wiring harness between the sensor and the module for chafing or breaks. Audi’s harnesses are known to rub against the chassis over time, causing intermittent shorts that mimic sensor failure. A quick continuity test saves you from installing a new part into a circuit that’s still broken.
Fitment and Real-World Performance
The OS-HSA040 is a direct replacement for OE# 4B0907503, which covers a single application—but that application covers a lot of cars. The C5 Audi A6 (1998-2004), the Allroad (2000-2005), and the D2 A8 (1997-2002) all used this sensor in various positions. It’s a simple, robust unit built with the same materials as the factory part, and it comes in at a fraction of the dealer price.
In our shop, we’ve installed these on a steady stream of Allroads with sagging rear ends. The fitment is spot-on, the connector clicks in securely, and the calibration process goes smoothly. The only complaint we’ve heard is from owners who expected the sensor to fix a mechanical leak—it won’t. If the air strut itself is leaking, no sensor will help.
The Bottom Line for Buyers
If you’re chasing a suspension fault on an older Audi, start with the sensor before you condemn the compressor or struts. It’s the cheapest diagnostic step you can take, and the OS-HSA040 is a reliable, affordable replacement that eliminates the guesswork. For DIY owners, the job takes about an hour per corner. For shops, it’s a straightforward upsell that builds customer trust.
The ride height sensor might be a small part, but it’s the brain of your air suspension. Treat it with respect, torque it right, and it’ll keep your Audi level for another 100,000 miles. Check the OS-HSA040 | OSRAM Ride Height Sensor | Fits Audi | OE# 4B0907503 for current pricing and availability.

Recommended Part: OS-HSA040 – OE-grade replacement, in stock now.