
Your Audi’s suspension is a masterclass in compromise—it delivers that Autobahn-stable ride at 130 mph, yet manages to stay plush over potholed city streets. But when the ride height sensor fails, that magic disappears. The dashboard lights up like a Christmas tree, the air suspension drops the car to its bump stops, and suddenly your daily driver feels like a slammed show car with a blown strut.
The culprit is often a $40 sensor—not the $2,000 air strut assembly you were dreading. The OS-HSA017 from OSRAM, which replaces Audi’s OE number 4F0941286B, is one of the most common fixes for A6, A8, and Q7 models from the mid-2000s through the early 2010s. If you’ve got basic hand tools and an afternoon, this is a job you can tackle in the driveway.
Here’s the full walkthrough, including the torque specs most online guides forget to mention.
First, Confirm the Diagnosis
Before you crawl under the car, verify the sensor is actually dead. Audi’s suspension control module (the J197) will store fault codes like P177B or 01770 if the sensor signal is implausible. A quick scan with VCDS or a generic OBD-II tool will point you to the specific corner.
Physical inspection matters too. These sensors sit near the upper control arms, exposed to road grime and winter salt. The plastic linkage arm (the small rod connecting the sensor to the sway bar link) often snaps or pops off its ball joint. If the arm is intact but the sensor’s internal potentiometer is worn, you’ll see erratic voltage readings on a multimeter—typically jumping between 0.5V and 4.5V when it should sweep smoothly.
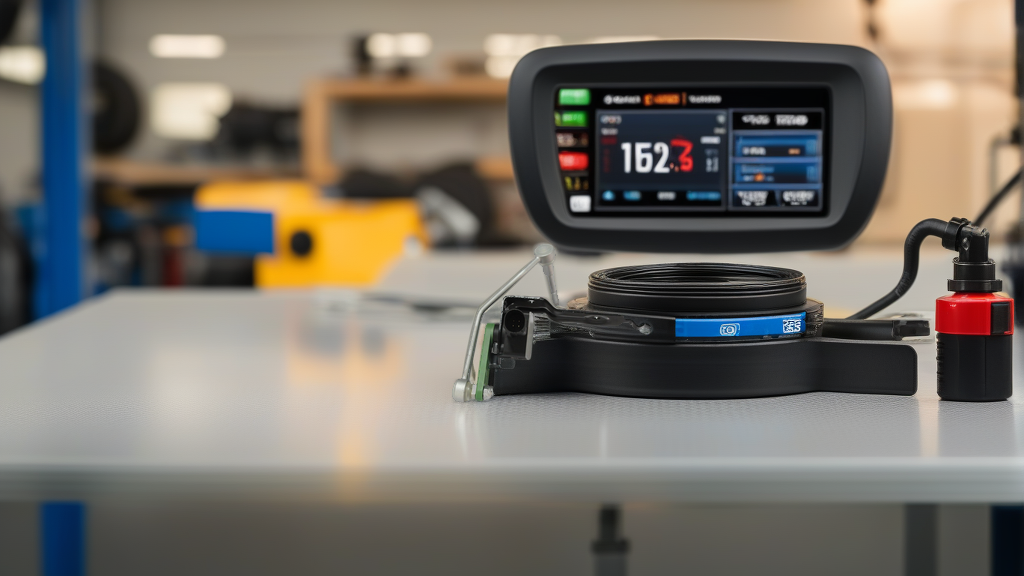
The OS-HSA017 | OSRAM Ride Height Sensor | Fits Audi | OE# 4F0941286B is a direct replacement for the 4F0941286B. OSRAM’s unit uses a Hall-effect sensor rather than a traditional contact potentiometer, which means no internal wear points. That’s a meaningful upgrade over the factory part, and it costs less than the dealer’s price for the OEM unit.
Tools You’ll Need
- 10mm socket and ratchet
- Torx T25 (for the sensor mounting bolts)
- Needle-nose pliers (for the linkage clip)
- Jack and jack stands (or a lift if you have access)
- Torque wrench (in-lb range for the small bolts)
- Dielectric grease (optional, but recommended)
- A small flathead screwdriver to release the electrical connector tab
The Replacement Process: Step by Step
Step 1: Access the sensor. Jack up the affected corner and secure it on a jack stand. The sensor is mounted to the upper control arm bracket, with the linkage arm pointing down toward the lower control arm. On most Audi platforms, you can reach it without removing the wheel—but pulling the wheel gives you far more room to work, especially on the front axle.
Step 2: Unplug the electrical connector. Press the release tab on the connector and pull straight back. Don’t yank on the wires—the harness is brittle after a decade of engine bay heat. If the tab breaks, a small pick tool will help you release the latch.
Step 3: Remove the linkage arm. The linkage has a ball-and-socket joint on both ends. Pop the lower end off the sway bar link with a flathead screwdriver, then remove the upper end from the sensor arm. Some vehicles use a small C-clip here—keep it safe, you’ll reuse it on the new sensor.
Step 4: Unbolt the sensor. The two Torx T25 bolts hold the sensor to the bracket. Loosen them, and the sensor comes free. Don’t lose the bolts—they’re a specific thread pitch that’s annoying to source aftermarket.
Step 5: Install the new sensor. Bolt the OS-HSA017 into place. Torque the bolts to 8 Nm (71 in-lb) —that’s all they need. Over-tightening strips the aluminum bracket threads, and that’s a repair you don’t want to explain.
Step 6: Reattach the linkage arm. Press the linkage socket onto the sensor’s ball joint first, then the lower end onto the sway bar link. You should feel a positive click. If the socket doesn’t seat fully, rotate the sensor slightly until the alignment is right.
Step 7: Reconnect the electrical connector. Clean the terminals with contact cleaner if they’re corroded. A dab of dielectric grease prevents future moisture ingress. Snap the connector back on and verify the latch engages.
Step 8: Calibrate. This is the step that trips up most DIYers. The suspension control module needs to learn the sensor’s zero point. With VCDS, go to Address 34 (Level Control), then Basic Settings, and run the calibration routine. Without VCDS, you can often reset the fault codes with a generic scanner, then drive the car—the module will self-calibrate after a few ignition cycles. It’s not as clean, but it works.
Step 9: Test the system. Start the car and let the suspension cycle. The compressor should run, the car should level out, and the warning lights should clear. Take it for a test drive and watch for any irregular leveling behavior.
Pro Tip: Before you unbolt anything, check the linkage arm. If the plastic ball joint is worn, replace it while you’re in there. It’s a $10 part, and it will save you from doing this job twice. Also, inspect the wire harness for chafing where it routes near the frame rail—a shorted wire can mimic a failed sensor and send you chasing a ghost.
Common Mistakes to Avoid
Skipping the calibration. The car will throw false leveling codes if you don’t reset the sensor’s zero point. The ride will be uneven, and the system may fault out entirely. Do the calibration. It takes two minutes.
Using the wrong torque. The mounting bolts are small and the bracket is soft aluminum. 8 Nm is the spec. Anything more and you’ll strip the threads, turning a 20-minute job into a control arm replacement.
Forgetting to check the linkage. A broken or worn linkage arm will cause the new sensor to read incorrectly. You’ll still get fault codes, and you’ll be convinced the new part is defective. It’s not. It’s the linkage.
Not cleaning the connector. Corrosion on the electrical terminals is a common failure mode for these sensors. If you don’t clean the connector before plugging in the new unit, you’re setting yourself up for intermittent faults down the road.
The Longwie Parts Take
The OS-HSA017 is a solid pick for any 2005–2011 Audi A6, A8, or Q7 owner facing a suspension fault. The Hall-effect internals outlast the factory potentiometer design, the price is right, and the fitment is exactly as you’d expect from a direct OEM replacement. If you’re comfortable with basic wrenching, this is a two-hour job that would cost you $400 or more at a shop.
For the 2026 model year, Audi has largely moved to fully electronic dampers with integrated height sensors—but the vast majority of vehicles on the road today still rely on this external sensor design. That means the OS-HSA017 isn’t going anywhere. It remains the go-to replacement for one of the most common ride height sensor failures in the Audi lineup.
If you’re staring down a suspension fault code, skip the dealership quote and grab the OS-HSA017. Your wallet—and your Audi’s ride quality—will thank you.

Recommended Part: OS-HSA017 – OE-grade replacement, in stock now.