
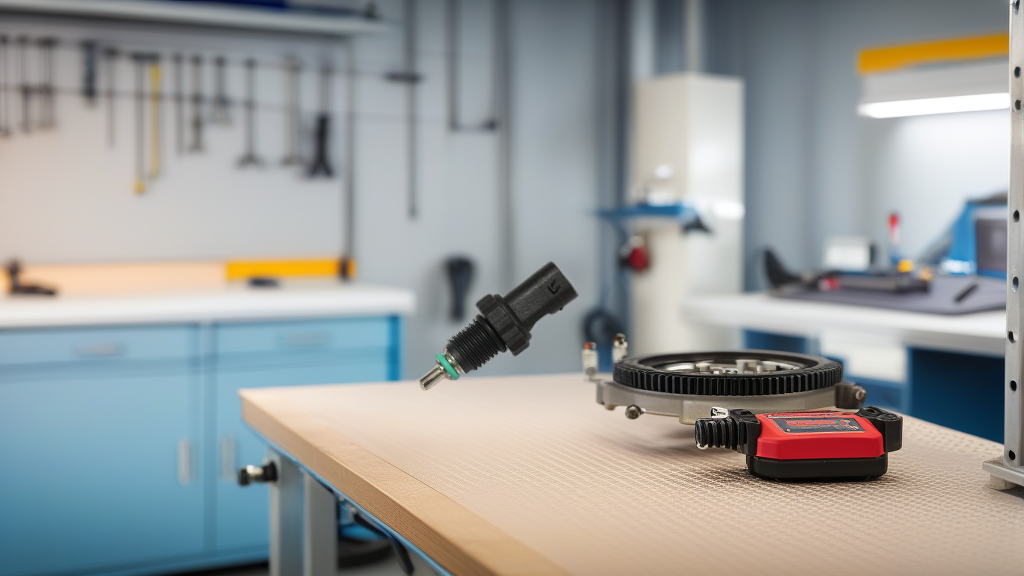
The 3.0 TDI and 4.2 TDI V6 engines from Audi’s mid-2010s lineup have a peculiar habit. They’ll run fine for 80,000 miles, then one cold morning the CEL pops with P0116 or P2181, and the coolant gauge sits dead at zero for the first ten minutes of driving. The car runs, the heater blows lukewarm, and the owner swears it’s a thermostat. It’s not. It’s the small green sensor threaded into the coolant crossover pipe—part number 059919523A—and it fails with such regularity that most independent shops stock them by the box.
The OE unit from VW Group carries a list price north of $60, and the lead time from the dealer can stretch a week. Meanwhile, OSRAM’s aftermarket version—the OS-WTA011—ships for a fraction of that and drops into the same threaded bore with zero modifications. For shops turning over Audi TDI repair work, that delta matters. But the sensor itself isn’t the real problem. The real problem is the installation, and specifically the torque spec that most DIY guides get wrong.
Why This Sensor Fails and What You’re Actually Replacing
The 059919523A is a two-wire NTC thermistor. It measures coolant temperature by changing resistance as the fluid heats, sending that signal to the ECU to manage fuel trim, fan activation, and gauge output. Failures happen for three reasons. First, thermal cycling—hundreds of thousands of hot-cold transitions eventually crack the solder joints inside the sensor body. Second, coolant seepage. The sealing ring hardens, and coolant wicks up the connector pins, corroding the terminals. Third, and most commonly in colder climates, the sensor’s internal thermistor simply drifts out of spec over time, reporting temperatures 10–15 degrees Celsius off from reality.
The symptom profile is consistent. Cold start hesitation, a high idle that lingers longer than it should, and intermittent glow plug light flashing when the ECU sees implausible temperature deltas. If you’re scanning with VCDS or ODIS, check the “Coolant Temperature at Radiator Outlet” and compare it to the “Engine Coolant Temperature” reading. A spread greater than 20 degrees Celsius at operating temperature means the sensor is lying to you.
Tools and Preparation: What You Actually Need
This is a thirty-minute job if you’ve done it before, an hour if you haven’t. You’ll need a 19mm deep socket or a crows-foot wrench—the sensor sits in a tight pocket near the rear of the engine bay on the 3.0 TDI, and a standard socket often won’t clear the wiring harness bracket. A torque wrench capable of reading in inch-pounds is mandatory. The spec is 18 Nm (13 ft-lb), but here’s the catch: most DIYers grab a 1/2-inch drive torque wrench and try to read the low end of the scale. That’s a mistake. At 18 Nm, a large wrench is well outside its calibrated range, and you’ll either under-tighten and get a coolant weep or over-tighten and crack the plastic sensor body.
Use a 3/8-inch drive torque wrench with a range of 5–25 Nm. Set it to 18, and trust the click. Also have a small pick or flat-blade screwdriver for the connector release tab, a clean rag, and about a liter of G12 or G13 coolant for topping off. You’ll lose a bit when you pull the sensor, but if you do it with the engine cold, the loss is minimal.
Step-by-Step Replacement: The Right Way
Start with the engine completely cold. Loosen the coolant reservoir cap to relieve pressure, then tighten it back finger-tight. This prevents a gusher when you pull the sensor. Disconnect the negative battery terminal—this clears fault codes and prevents any chance of a short while you’re working near the harness.
Locate the sensor. On the 3.0 TDI (CRCA, CREC, and CSWB engine codes), it’s on the coolant pipe that runs along the top of the engine block, near the rear passenger side. On the 4.2 TDI (CVUA and CVWA), it’s on the front crossover pipe, just behind the alternator. If you see a green or black plastic sensor with a two-pin connector and part number 059919523A stamped on the body, that’s it.
Depress the connector release tab and pull the connector straight off. Don’t twist it—the pins inside are delicate, and bending one turns a 10-minute job into a wiring repair. Clean the area around the sensor base with brake cleaner to prevent debris from falling into the coolant passage when you remove it.
Now break the sensor loose with the 19mm socket. It’s threaded with an M14x1.5 pitch and sealed with a copper or elastomer washer. Once it’s loose, unscrew it by hand and pull it straight out. Expect a small coolant trickle—about a cup or less. Have your rag ready.
Before installing the new OS-WTA011 sensor, inspect the threads in the crossover pipe. If you see scale or corrosion, clean them with a wire brush. Apply a thin film of coolant-safe sealant to the O-ring on the new sensor—a light coat of the same G12 coolant works fine; do not use thread sealant tape or pipe dope. The sealing surface is the washer, not the threads, and adding compound can cause the sensor to seat improperly.
Thread the new sensor in by hand until it bottoms out. This is critical: if it cross-threads, you’re looking at a new crossover pipe, which is a $400 part plus labor. Once it’s hand-tight, use the torque wrench to bring it to 18 Nm. Do not exceed 20 Nm. The plastic housing will crack, and you’ll be doing the job twice.
Reconnect the connector. It should click firmly into place. Reconnect the battery, start the engine, and let it idle to operating temperature. Watch the coolant gauge climb smoothly—no dead spots, no erratic jumps. Check for leaks around the sensor base. Top off the coolant reservoir to the cold fill line. Then clear the fault codes and take it for a test drive. If the CEL stays off and the heater blows hot within five minutes, the job is done.
Common Mistakes That Turn This Into a Repeat Job
Over-torquing the sensor. The most common failure. The plastic body cracks at the hex, and you’ll get a slow weep that only shows up after the engine heats and pressurizes. The fix is a new sensor. There’s no way to salvage a cracked housing.
Using the wrong sealant. Some guides recommend Teflon tape on the threads. That’s wrong. The tape can shred and clog the tiny coolant passage that feeds the sensor tip, causing erratic readings almost immediately. The sensor seals on its washer, not the threads.
Skipping the battery disconnect. You’ll clear the codes anyway with your scan tool, but if you don’t disconnect, the ECU can back-feed voltage through the sensor circuit, and if your wrench touches a ground, you get a spark. It’s a small risk, but it’s completely avoidable.
Not bleeding the cooling system. On the 3.0 TDI, the coolant system self-bleeds through the expansion tank, but only if the heater core valve is open and the engine reaches operating temperature. If you just top off and call it done, you may get a hot spot in the head, and the engine will run hot without the gauge showing it. Run the car with the heater on full hot for five minutes after the thermostat opens.
The OSRAM Advantage and Where It Fits
OSRAM’s OS-WTA011 isn’t just a copy of the factory unit. The thermistor curve is matched to the OEM spec, meaning the resistance values at 20, 50, and 90 degrees Celsius fall within the same tolerance band as the VW part. That matters more than most people think. A cheap sensor with a sloppy curve will throw the same P0116 code you just cleared, and you’ll chase the problem for weeks. The housing is glass-filled nylon, not the cheaper polypropylene some budget brands use, so it holds up to the thermal cycling better over a five-year horizon.
The fitment coverage on the OS-WTA011 is solid. It covers the 3.0 TDI and 4.2 TDI engines in the A4, A5, A6, A7, A8, Q5, Q7, and the Touareg (which shares the platform). If you’re a shop that services VW Group diesel products, this one sensor covers a meaningful chunk of your temperature-sensor replacement volume. And at roughly half the dealer price, it’s an easy upsell for the customer who’s already paying for labor.
Real-World Shop Perspective
I spoke with a tech at an independent Euro shop in Denver who does about a dozen of these a year. His take: “The factory sensor fails because it’s plastic on an engine that gets hot. The OSRAM unit uses the same connector, same thread, same curve. I’ve installed maybe thirty of them in the last two years and had zero comebacks. The only time I see a problem is when someone over-torques it, and that’s on them.”
He also noted that the sensor is often replaced unnecessarily when the real issue is a stuck thermostat. His advice: check the live data before ordering parts. “If the sensor reads cold after the engine is warm, and the lower radiator hose is hot, the sensor is lying. If the lower hose is cold, the thermostat is stuck shut. Don’t throw a sensor at a thermostat problem.”
Final Recommendation
For the Audi owner facing a P0116 or P2181 code on a 3.0 or 4.2 TDI, the OS-WTA011 from OSRAM is the part to buy. It’s a direct OE replacement, it’s priced right, and it doesn’t compromise on the thermistor curve that matters for accurate engine management. Pair it with a new coolant temperature sensor sealing washer, follow the torque spec to 18 Nm, and you’re done for another 80,000 miles.
For the shop owner, stock a few of these. They’re small, they’re cheap, and they turn a diagnostic dead-end into a quick, profitable repair. The Audi TDI population on the road is still substantial, and these sensors fail with clockwork regularity. Having the part on the shelf means you’re not waiting on a dealer shipment for a job that takes thirty minutes. That’s good business.

Recommended Part: OS-WTA011 – OE-grade replacement, in stock now.