
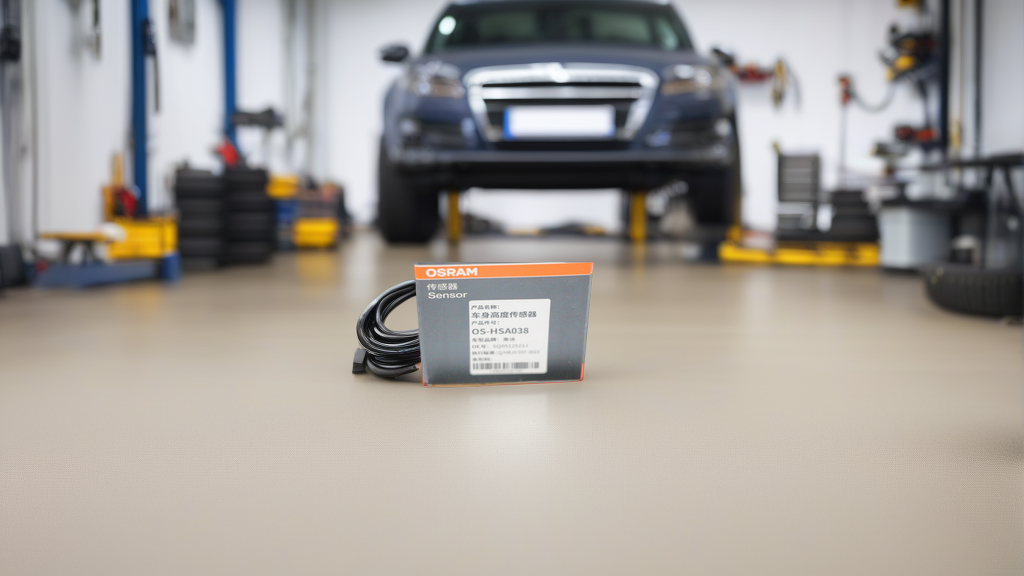
If your Audi’s headlights are pointing at the ground or the suspension warning light is on, a faulty ride height sensor is often the culprit. These sensors tell the headlight leveling system (and, on some models, the adaptive suspension) exactly how much the car is squatting or lifting. When they fail, you get erratic behavior – headlights that won’t self-level, a dashboard warning, or even a car that sits visibly crooked.
This guide walks you through replacing the ride height sensor on Audi vehicles that use the OE# 5Q0512521J – a common part on the A3, Q3, and some earlier platform models. The aftermarket OSRAM sensor (SKU: OS-HSA038) is a direct drop-in replacement, built to the same specifications as the factory unit, and costs a fraction of the dealer price.
Tools and Parts You’ll Need
| Tool / Part | Notes | |||
|---|---|---|---|---|
| Floor jack & two jack stands | Must lift and secure the corner closest to the failing sensor | |||
| Lug wrench (or impact gun) | To remove the wheel | |||
| 10 mm socket & ratchet | For the sensor mounting bolts | |||
| 5 mm Allen key / Torx T20 | For the sensor arm fastener (varies by production date) | |||
| Small flathead screwdriver | To release the electrical connector clip | |||
| Trim removal tool (optional) | To pop the underbody cover if needed | |||
| Replacement sensor | [OS-HSA038 | OSRAM Ride Height Sensor | Fits Audi | OE# 5Q0512521J](https://longweiparts.com/product/os-hsa038-osram-ride-height-sensor-fits-audi-oe-5q0512521j/) (OSRAM, OE# 5Q0512521J) |
| Thread locker (medium strength) | Optional on bolts, but recommended | |||
| VCDS / OBD11 / scan tool | To clear the fault code after replacement (not always required) |
Torque specification: The two M6 bolts that hold the sensor to the bracket should be tightened to 8–10 Nm (about 6–7 ft-lb). The small fastener securing the sensor arm to the control link is usually an M5 bolt: tighten to 4–5 Nm (3–4 ft-lb). If you don’t have a torque wrench, snug them firmly by hand – overtightening will crack the plastic housing.
Step-by-Step Replacement Process
1. Locate the Sensor
On the front and rear axles, the ride height sensor is a small black box mounted to the subframe or body, with a plastic arm connecting it to the suspension control arm (front) or trailing arm (rear). In most Audi applications, you’ll find one sensor per corner. The 5Q0512521J suffix fits the front left (driver side in LHD) – confirm your position before ordering a second.
2. Lift and Secure the Vehicle
Raise the corner of the car where the sensor is seated. Support the suspension at the appropriate jack point – do not let the suspension hang free, because the arm geometry changes and you may have a hard time aligning the new sensor. If possible, place a jack stand under the control arm to keep the suspension at normal ride height (or at least within 20–30 mm of static height).
3. Remove the Wheel
Take off the wheel to access the sensor area. On some Audi models (especially Q3), there’s a small plastic underbody splash shield: remove it with a Torx bit.
4. Disconnect the Electrical Connector
Use a flathead screwdriver to gently press the locking tab on the connector. Pull straight off – don’t yank the wires. If the connector is stuck, spray a little contact cleaner or silicone lubricant.
5. Unbolt the Sensor Arm
The sensor arm is a thin plastic rod with a ball‑joint end that clips onto the suspension link. You might need to remove the arm from the link side first (pop it off with a pry tool) or unbolt it from the sensor itself.
Common mistake: Forgetting to note which hole the arm was clipped into. The arm often has multiple adjustment holes – mark its exact position with a paint pen or take a photo before disassembly.
6. Remove the Two Mounting Bolts
Using a 10 mm socket, remove the two bolts holding the sensor to its bracket. Slide the old sensor out.
7. Install the New OSRAM Sensor
Take the OS-HSA038 | OSRAM Ride Height Sensor | Fits Audi | OE# 5Q0512521J out of the box. It’s a direct fit – the bracket holes and connector match perfectly. Bolt it into place with the two M6 bolts. Tighten to 8–10 Nm. Do not overtighten: the sensor body is plastic and can crack.
8. Reattach the Sensor Arm
Reclip the arm onto the same hole you marked earlier. If you removed the arm from the sensor side, slide it onto the sensor’s splined shaft, then tighten the small fastener (4–5 Nm).
Critical: The arm must be positioned so that the sensor sits at its mid‑range when the suspension is at normal ride height. If you installed it when the suspension was fully drooping, the sensor may be at zero or max travel – that will cause a fault code.
9. Reconnect the Electrical Connector
Push the connector until it clicks. Give a light tug to confirm it’s locked.
10. Reinstall the Wheel and Lower the Car
Put the splash guard back (if applicable), mount the wheel, and torque the lug nuts to your Audi’s specification (usually 120 Nm on steel wheels, 140 Nm on alloys – check your manual). Lower the car.
11. Test and Clear Fault Codes (if needed)
Start the engine. Turn the headlights on – they should self‑level after a few seconds. If the warning light stays on, you’ll need a VCDS or OBD11 scanner to clear the chassis level fault. Some Audis require a recalibration procedure through the scan tool; for a simple sensor swap on the same axle, clearing the code is usually sufficient.
Common Mistakes to Avoid
- Not marking the arm position – you’ll install the new sensor at the wrong mechanical angle, causing the headlights to aim too high or too low.
- Letting the suspension hang – changes the arm’s zero‑point, making proper alignment impossible without a full recalibration.
- Overtightening the mounting bolts – cracks the sensor housing and ruins the part.
- Forcing the electrical connector – bends pins inside the sensor. Always use a pick or screwdriver on the lock tab.
- Skipping the fault code reset – the old error can persist in the ECU even with a good sensor, keeping the warning light on.
Recommended Part
For a reliable, cost‑effective replacement, go with the OSRAM Ride Height Sensor (OS‑HSA038) – SKU: OS-HSA038. It matches the exact OE fitment of the original 5Q0512521J used on Audi A3, Q3, and related models. No adapter or wiring modification needed. Just bolt it on, plug it in, and clear the code. You can find it here: OS-HSA038 | OSRAM Ride Height Sensor | Fits Audi | OE# 5Q0512521J.
FAQ
How do I know if my Audi’s ride height sensor is bad?
Common symptoms include: headlights pointing too low or too high, a “headlight range control” warning on the dash, uneven ride height after parking, or a suspension malfunction light. You can also check live data with a scan tool – the sensor reading should change smoothly as you push the suspension up and down.
Do I need to recalibrate the sensor after replacement?
On most Audi models with the 5Q0512521J sensor (particularly MQB platform cars), a full recalibration is not required if you install the new sensor at the same mechanical position as the old one. However, you will need to clear the fault code stored in the headlight control module. A plug‑and‑play replacement usually works fine after a code reset.
Can I drive with a broken ride height sensor?
You can drive, but your headlights will not self‑level. This is dangerous for oncoming traffic at night (your lights may blind others) and illegal in many countries. Also, on vehicles with adaptive damping, a failed sensor may put the suspension into a limp mode, making the ride harsh.
Why does my new OSRAM sensor still show a fault code?
First, double‑check that the arm is clipped into the correct hole and that the sensor is oriented the same way as the original. Second, ensure the connector is fully seated. If the code persists, you may have a wiring break or a faulty control module – inspect the harness near the wheel well for damage.